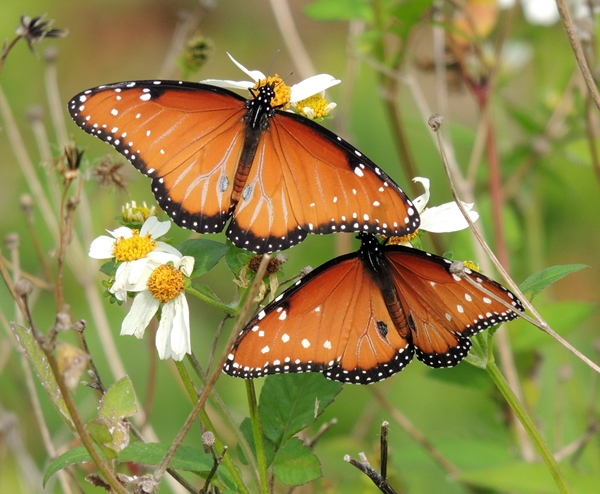
I have to say, the best thing I did when I retired was to buy a camera with a super zoom lens. You can get up close and personal with nature, and that is SO MUCH FUN. (42 times zoom!)
Now, having said that, I have to add that most of my Minnesota pictures are taken through my kitchen window. Through my (sometimes) dirty kitchen window. I know it negates some of the advantages of having a good lens, but that’s just the way it is.
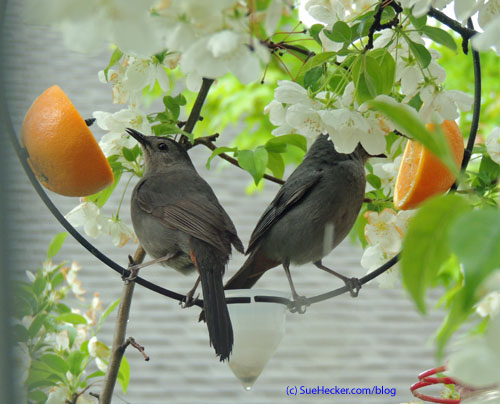
Tuesday of this week was a great birding day, out my kitchen window in our flowering crab tree. I have seen some Baltimore Orioles in the neighborhood, and I tried to lure them to my tree with some fresh orange. No Oriole, but I did get a pair of Catbirds. (You can see a bit of the rusty color underneath the tail of the bird on the left.)
 A House Finch also stopped by for some orange, and to just look pretty.

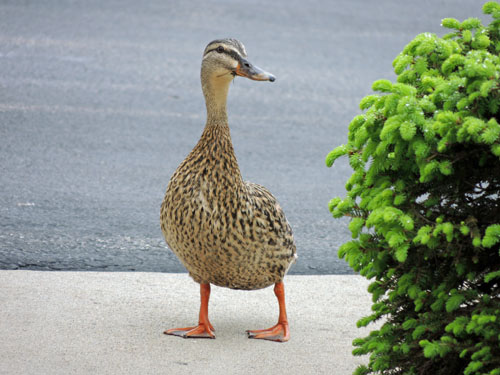
The same day we also had a female duck strolling towards the house. I don’t know what it is, but seeing a duck walk up the sidewalk always makes me laugh.
I had also been trying to lure the hummingbirds, and went through two batches of syrup and no hummer sighting. The syrup was being consumed at night, though, and after the second batch was gone, I brought the feeder in on Tuesday. No feeder, so of course a hummer came for a visit!
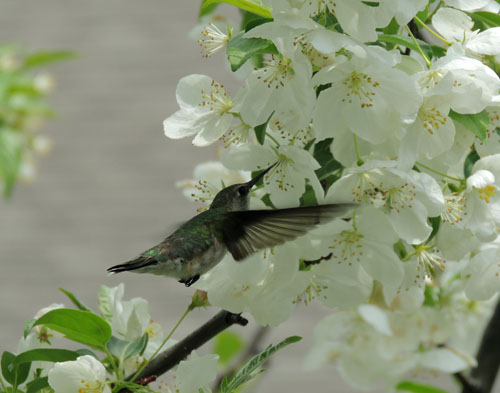
He loved our crab tree too, and it was in full bloom. Now, two days of rain later, it’s not so nice. I hope he comes back anyway!